If you are interested in GoodData.CN, please contact us.
Alternatively, test a trial version of GoodData Cloud:
Start Your GoodData Analytics Trial — Commitment-Free
Introduction
GoodData.CN enables you to run GoodData Analytics in a private and public cloud and on premise. With the GoodData.CN release, the GoodData.UI JavaScript SDK has been updated to be compatible with both the hosted GoodData Platform and GoodData.CN. This article describes how to:
- Install GoodData.CN Community Edition locally on your computer
- Use Accelerator Toolkit to create a GoodData.UI application from scratch
- Connect the GoodData.UI application to the GoodData.CN instance on your localhost
- Render your first insight against GoodData.CN using GD.UI
Prerequisites
This tutorial assumes a basic knowledge of frontend development. You should have installed and be familiar with Docker, npm, yarn, and you should be comfortable using a command line.
Installing GoodData.CN
To install GoodData.CN on your machine, navigate to https://docs-dev.anywhere.gooddata.com/1.0/getting-started/ and follow instructions 1 Get GoodData.CN through 4 Build a Logical Data Model. Here’s a summary of actions you’ll be performing while following the steps 1 through 4:
Open your terminal application, and pull the image from the Docker registrydocker pull gooddata/gooddata-cn-ce:1.0.0
Start the image with exposed ports and an interactive terminaldocker run -i -t -p 3000:3000 -p 5432:5432 --name gooddata-demo gooddata/gooddata-cn-ce:1.0.0
Note: GoodData.CN CE comes as an All-In-One image. Before you start it in Docker, please make sure you dedicate enough resources to your Docker environment. See details.
You will be prompted to agree with GoodData Privacy Policy, just type yes into the terminal and hit Enter. Once the demo is up and running, open your browser and navigate to http://localhost:3000/. Use demo@example.com and demo123 as username and password to log in. On the main page, click on Create workspace, enter demo for the name of the workspace, and click Create.
Once the workspace is created, click Connect data and Connect demo data. You will be redirected to the Data tab where you click on Create model, Scan Data Source, and Publish the model. Keep the default settings wherever applicable.
The Getting Started tutorial now continues with step 5 Create a Dashboard with Insights, but we’re going to import a custom layout with Dashboards instead.
Importing Custom layout
Instead of creating custom dashboards, as the tutorial suggests, we’re now going to import a custom layout that already contains insights and dashboards.
First, download the freelayout.json file.
Second, find out the workspace id. To do so, go to your browser and navigate to http://localhost:3000/dashboards/. The URL will update with the workspace id, e.g., http://localhost:3000/dashboards/#/project/42f23a4d66bf4f0287a87eda784c3c05. In this case, your workspace id would be 42f23a4d66bf4f0287a87eda784c3c05.
Finally, go to your terminal application and run the following:
curl http://localhost:3000/api/layout/workspaces/42f23a4d66bf4f0287a87eda784c3c05 \
  -H "Content-Type: application/json" \
  -H "Accept: application/json" \
  -H "Authorization: Bearer YWRtaW46Ym9vdHN0cmFwOmFkbWluMTIz" \
  -X PUT \
  -d @freelayout.json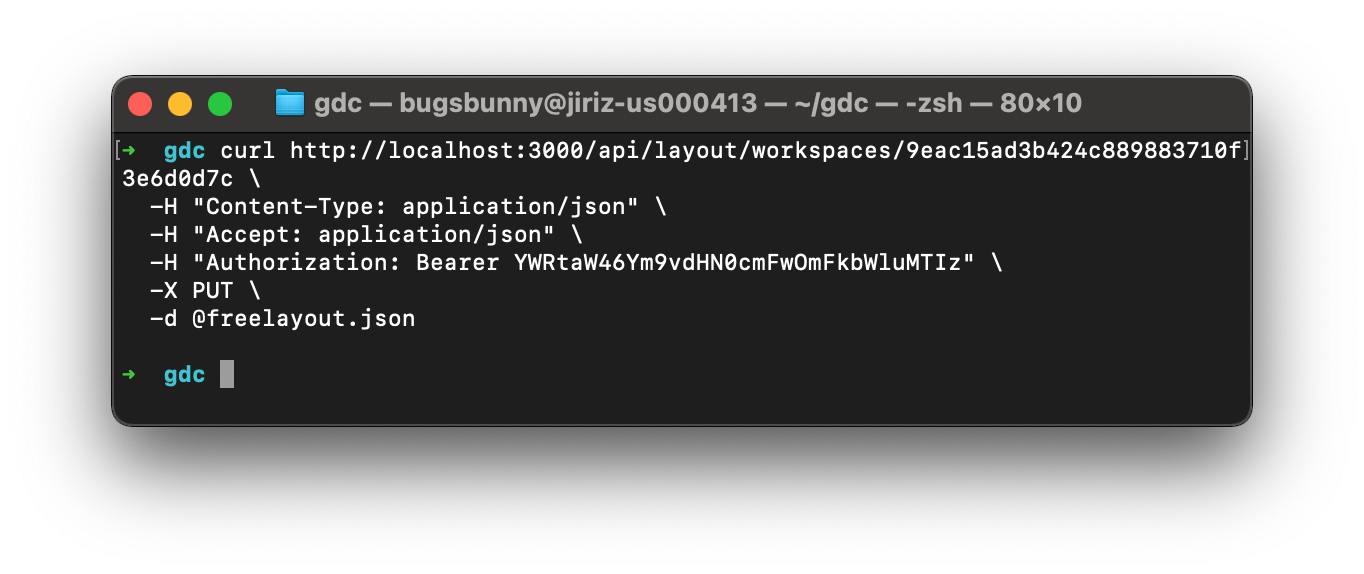
Please make sure you replace the workspace id with your actual workspace id and that the freelayout.json file is located in the folder where you’re executing the command.
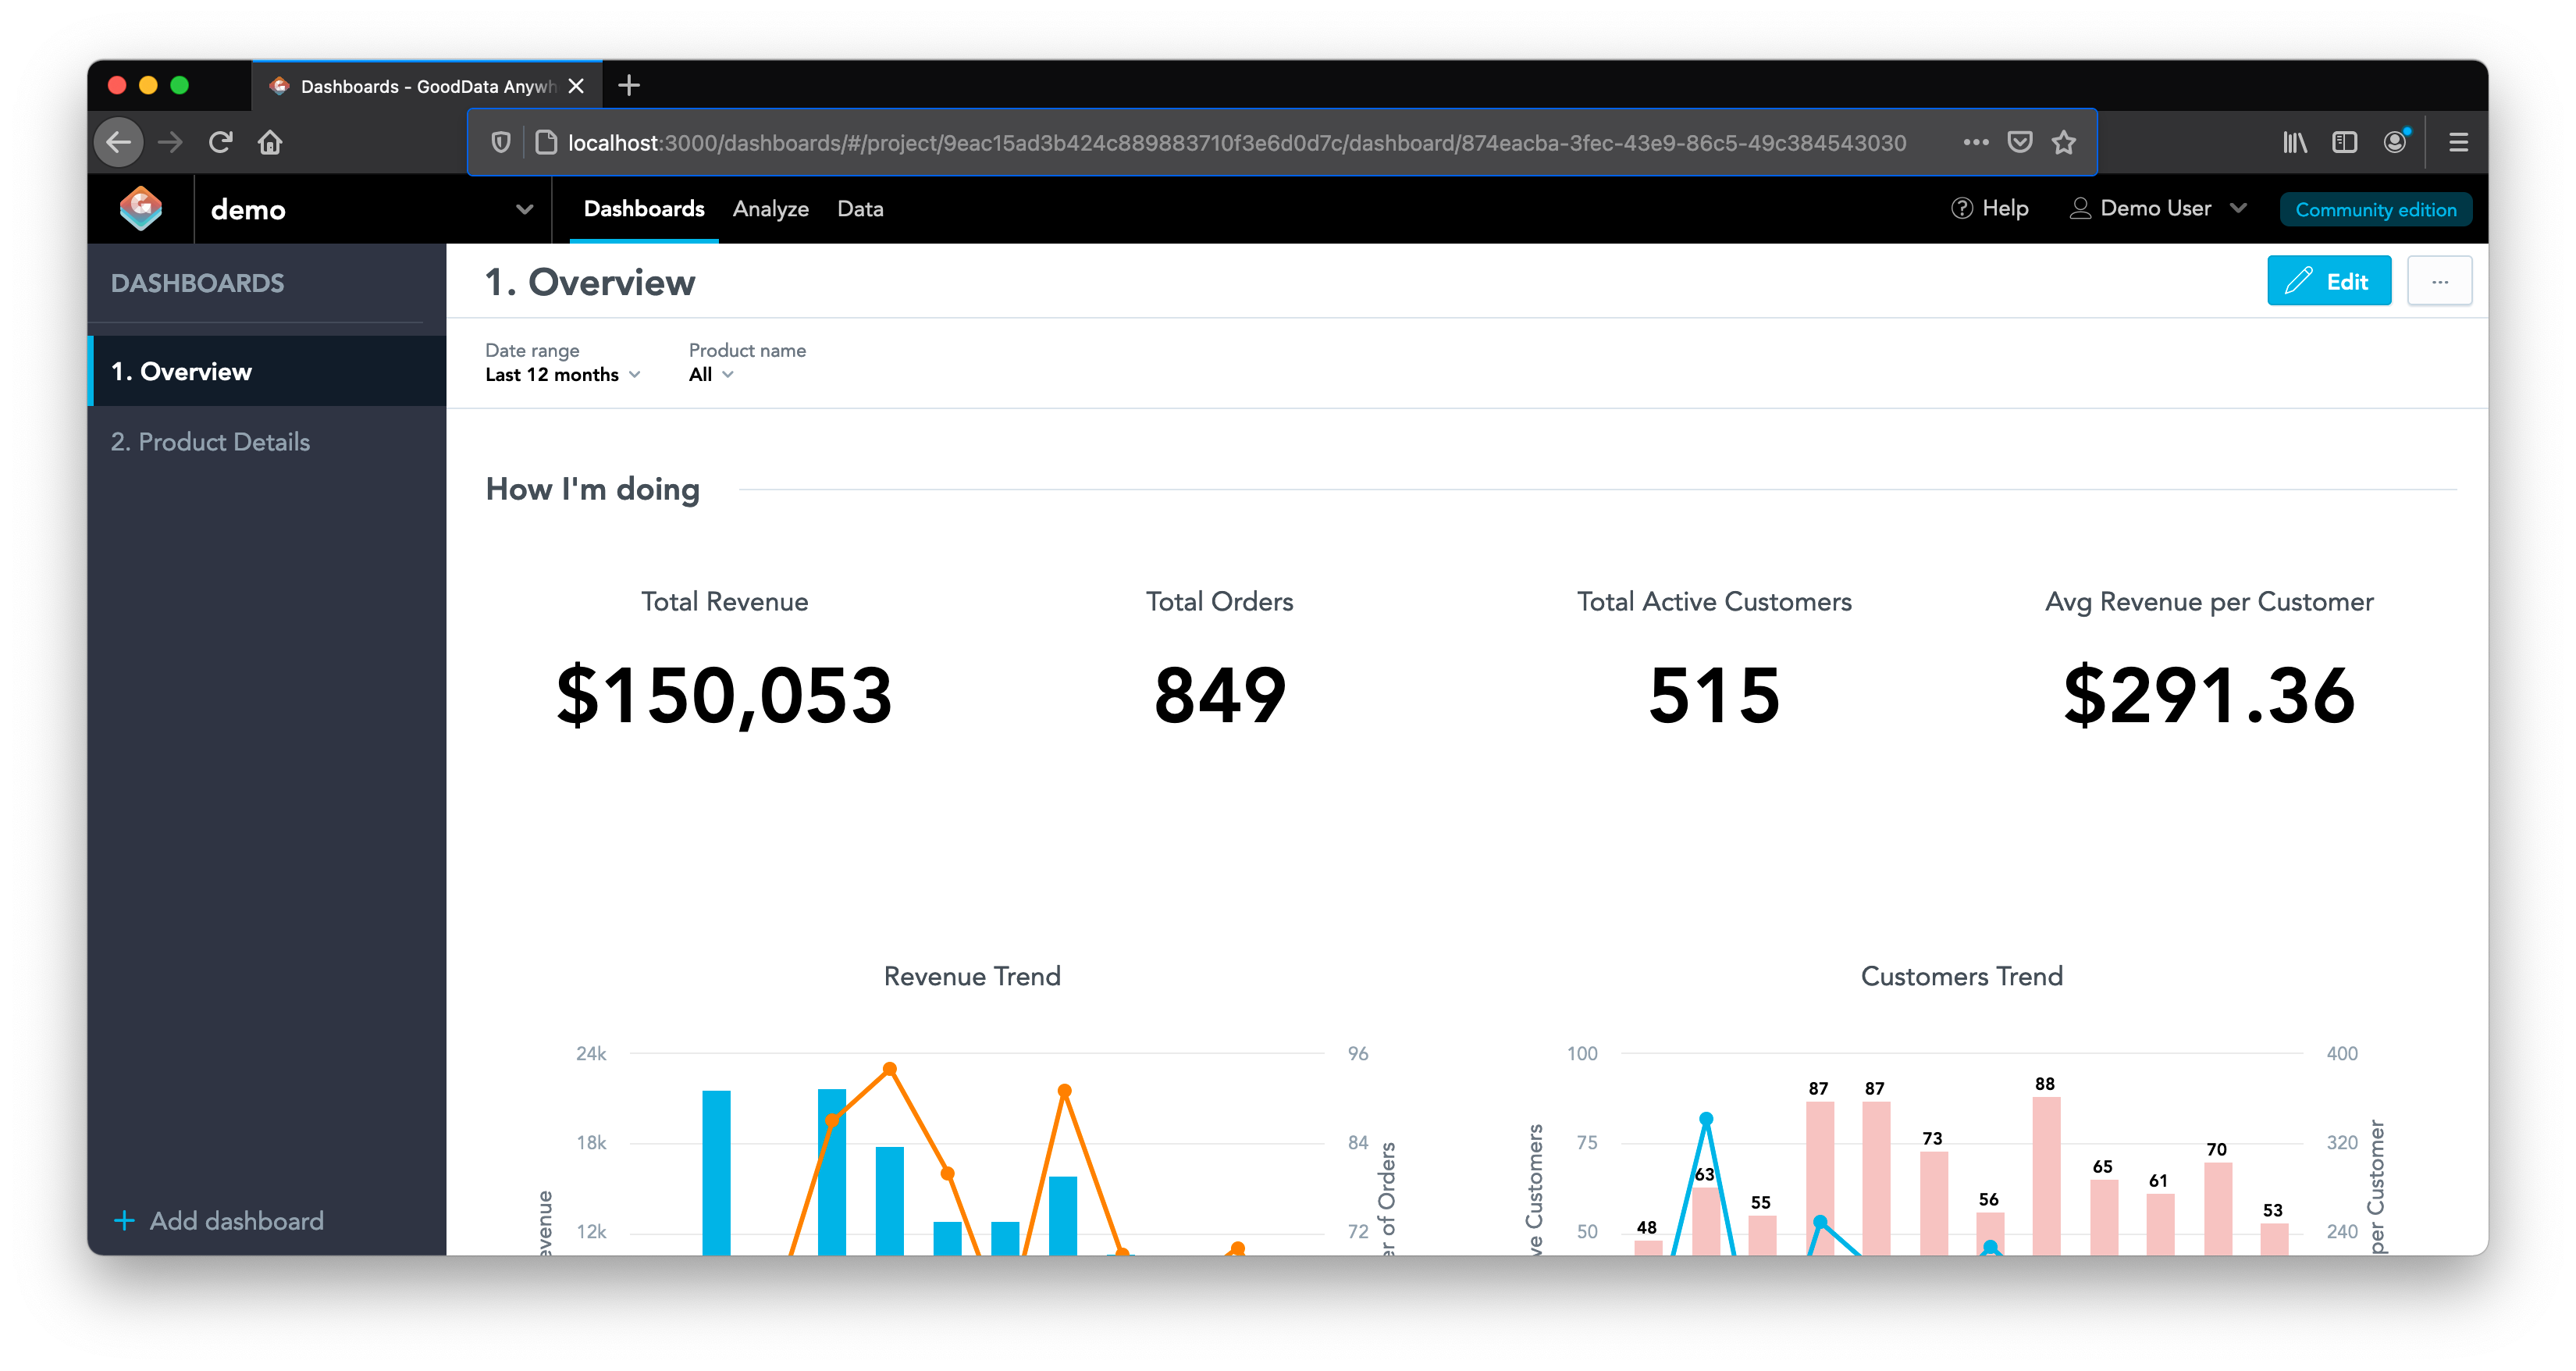
To verify that import was successful, open http://localhost:3000/dashboards/ in your browser, where you should see two ready-made dashboards with insights and KPIs.
Create GoodData App From Scratch
We’re now going to use GoodData’s Accelerator Toolkit to create a React application from scratch that will connect to our GoodData.CN instance. Open another terminal application, and initiate the Accelerator Toolkit. You’ll be prompted with several questions as you go:
npx @gooddata/create-gooddata-react-app --backend tiger
? What is your application name? my-app
? Insert your hostname: http://localhost:3000
? What is your application desired flavor? JavaScript
The application boilerplate is now being created, and you should see the dependencies being downloaded. After this is done, enter the folder with cd my-app and start the boilerplate app with yarn start. Your application should be accessible at http://localhost:8443/ shortly after.
Open the my-app folder in your favorite IDE, look for the src/constants.js file and update the workspace variable with your workspace id. Make sure to save the changes before you leave. Now open src/routes/Home.js and replace its contents with the following code:
import React from "react";
import Page from "../components/Page";
import { InsightView } from "@gooddata/sdk-ui-ext";
const Home = () => {
return (
<Page>
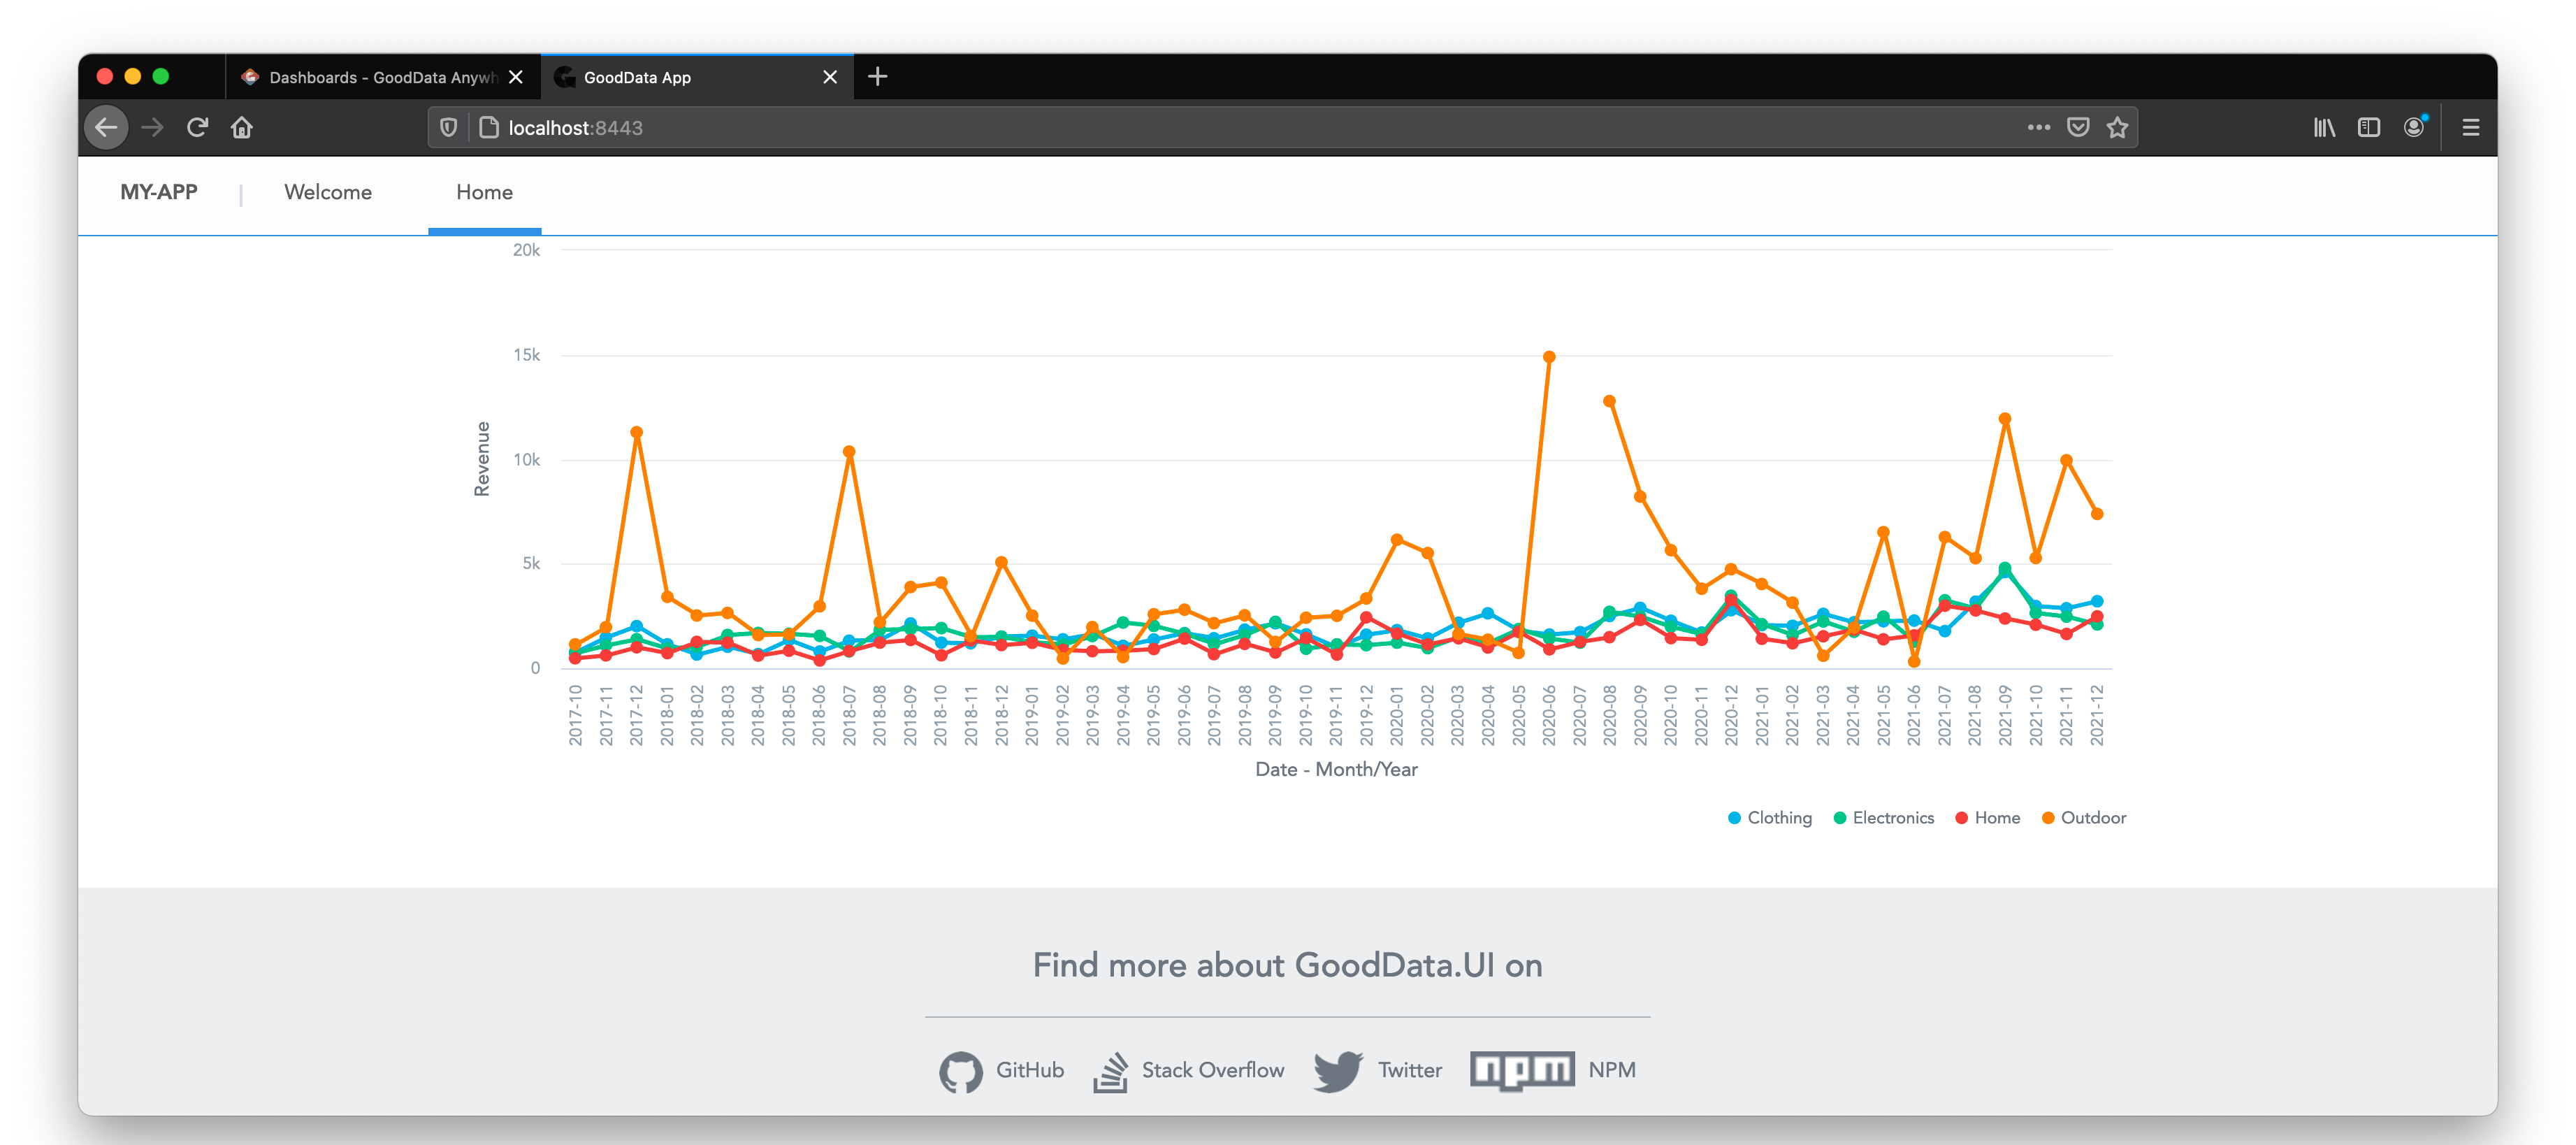
<InsightView insight="0a331cb9-97f3-4a57-ba90-a4de0f74a777" />
</Page>
);
};
export default Home;
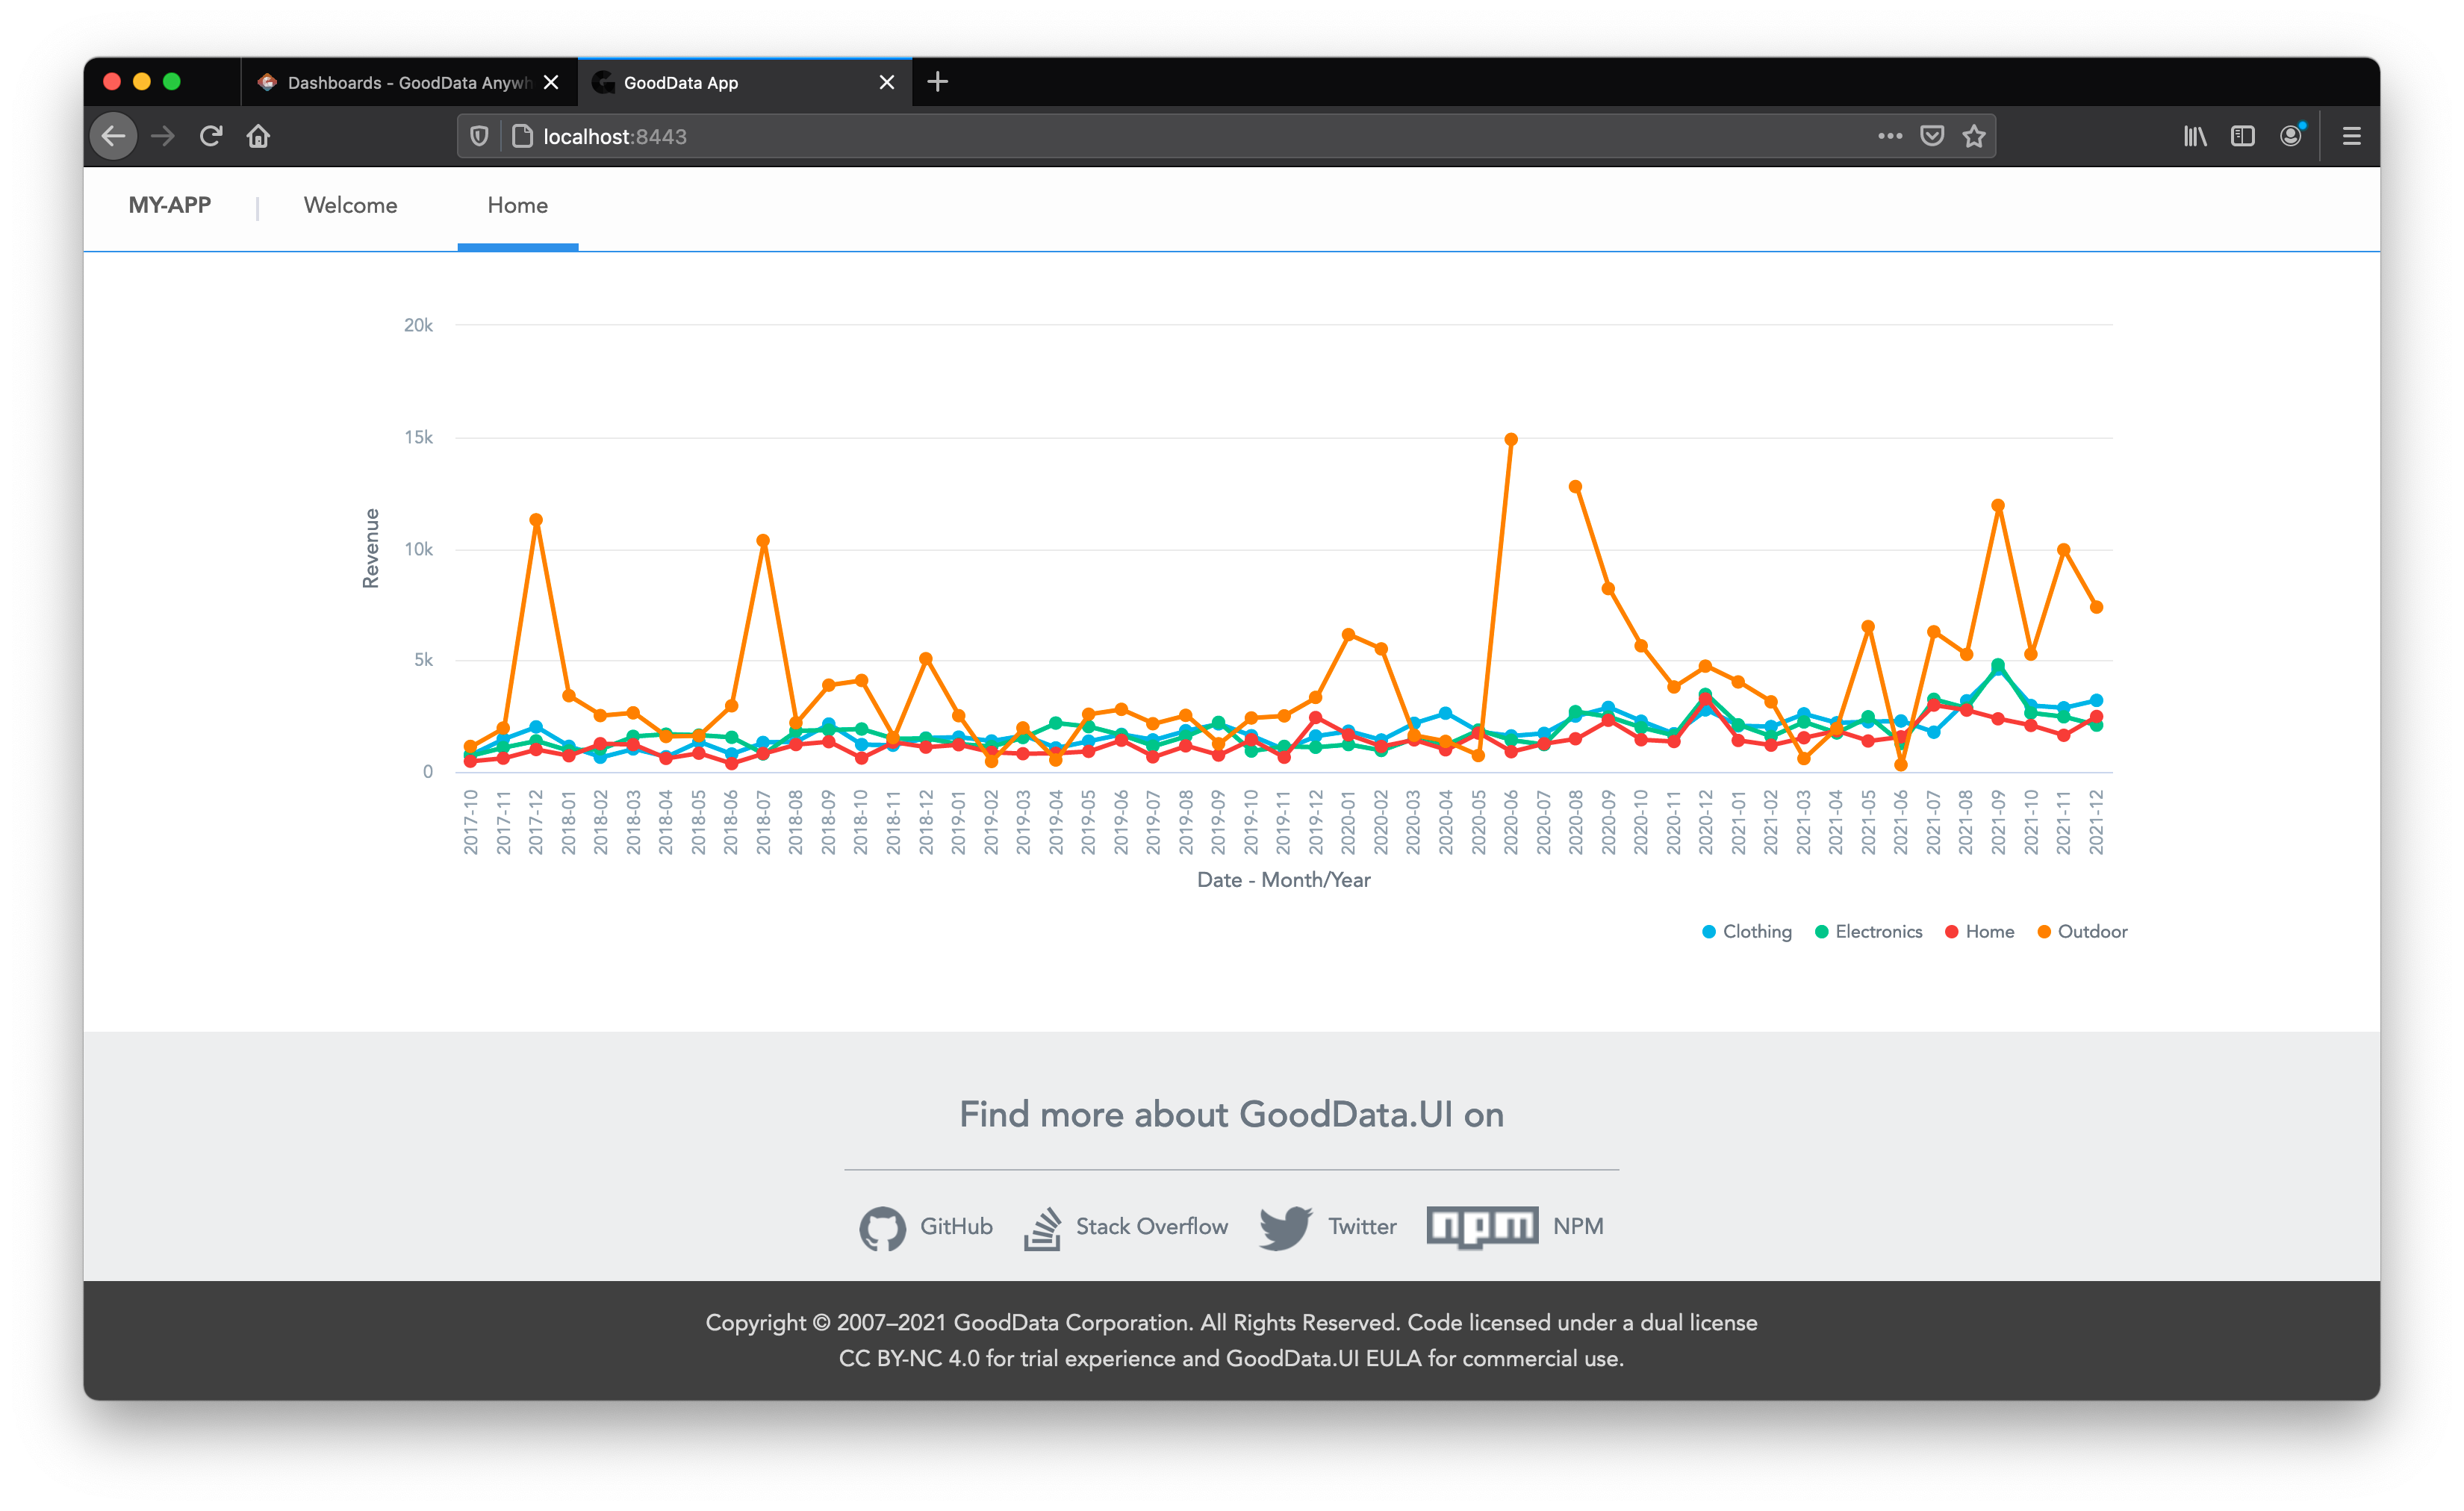
When your boilerplate app refreshes and you navigate to the Home tab, you should see the insight rendered on the page. Congratulations!
Summary
In this article, we’ve installed GoodData.CN locally, imported layout with insights, used Accelerator Toolkit to create a React application from scratch, and finally rendered one of the insights in this application using GoodData.UI.