KendoReact is a professional UI kit on a mission to help you build business apps with React much faster. It provides 90+ customizable React components that are easy to integrate with your design language. In this article, we’ll take a look at how to connect KendoReact to GoodData’s powerful analytics platform.
Getting Started
We’ll start with KendoReact’s Sales Dashboard application. To get it up and running, we need to:
# clone repository
git clone git@github.com:telerik/kendo-react-sales-dashboard.git

# install dependencies
cd kendo-react-sales-dashboard
yarn install

# serve over HTTPS with hot reload at https://localhost:3000
HTTPS=true yarn start
The application should now be running at https://localhost:3000. The GoodData platform is only accessible via secured HTTPS, so make sure to include HTTPS=true as part of the yarn start command on Mac, or HTTPS=true&&yarn start if you’re on Windows.

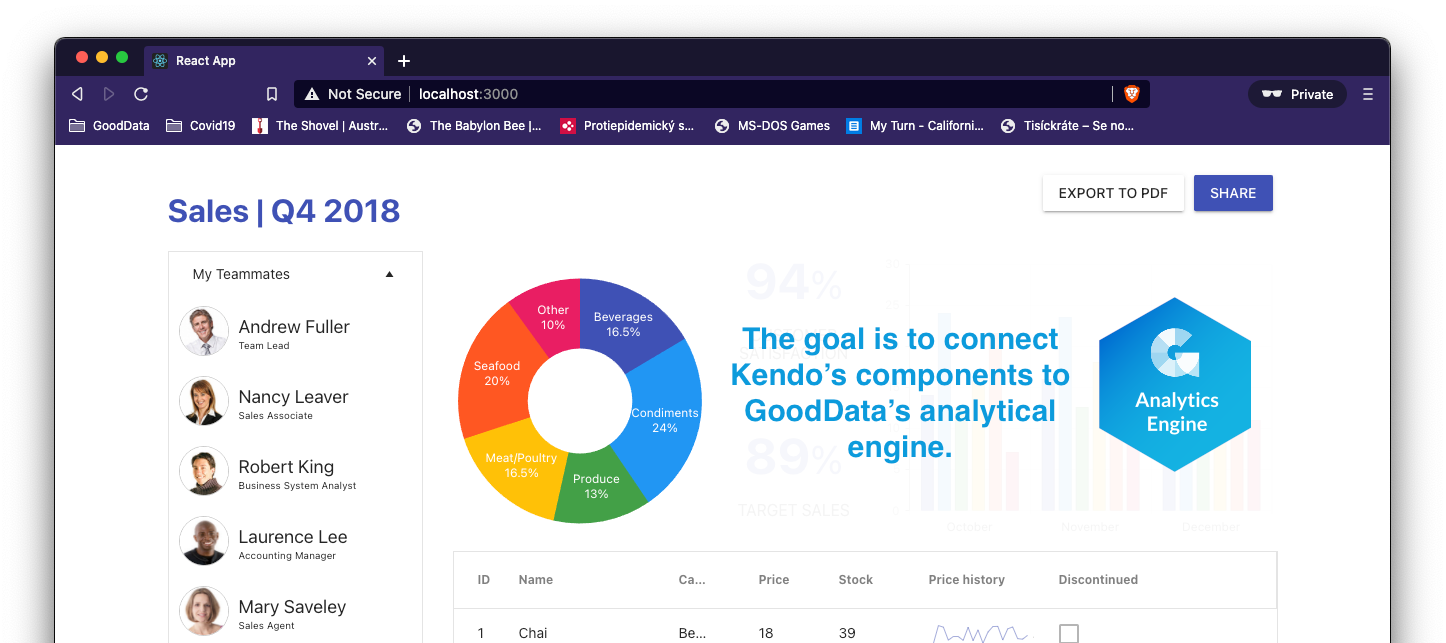
At this point, this is all KendoReact’s Sales Dashboard with hard-coded dummy data. To add some value, we’ll connect GoodData’s analytics engine and replace the mocked data with dynamic analytics.
Import GoodData.UI
GoodData.UI is a collection of npm packages, and we are going to add these four dependencies:
yarn add @gooddata/sdk-backend-bear
yarn add @gooddata/sdk-model
yarn add @gooddata/sdk-ui
yarn add @gooddata/sdk-ui-charts
GoodData.UI uses asynchronous JavaScript calls (XMLHttpRequests to be precise), and it is a well-known fact that, due to browser security, these requests need to originate from the same domain as is their target (see CORS for more).
The CORS set up for production deployments is described in GoodData.UI documentation. For our local development, it is much easier to start with a local proxy. To set it up, add a setupProxy.js file to the src/ folder with the following contents:
const proxy = require("http-proxy-middleware");

module.exports = function (app) {
     app.use(proxy("/gdc", {
         "changeOrigin": true,
         "cookieDomainRewrite": "localhost",
         "secure": false,
         "target": "https://developer.na.gooddata.com",
         "headers": {
             "host": "developer.na.gooddata.com",
             "origin": null
         },
         "onProxyReq": function(proxyReq, req, res) {
             proxyReq.setHeader("accept-encoding", "identity")
         }
     }));
     app.use(proxy("/*.html", {
         "changeOrigin": true,
         "secure": false,
         "target": "https://developer.na.gooddata.com"
     }));
     app.use(proxy("/packages/*.{js,css}", {
         "changeOrigin": true,
         "secure": false,
         "target": "https://developer.na.gooddata.com"
     }));
 };
Now's a good time to restart the localhost development server. If it's still running, stop it with CTRL+C, then restart it by running:
HTTPS=true yarn start # or HTTPS=true&&yarn start on Windows
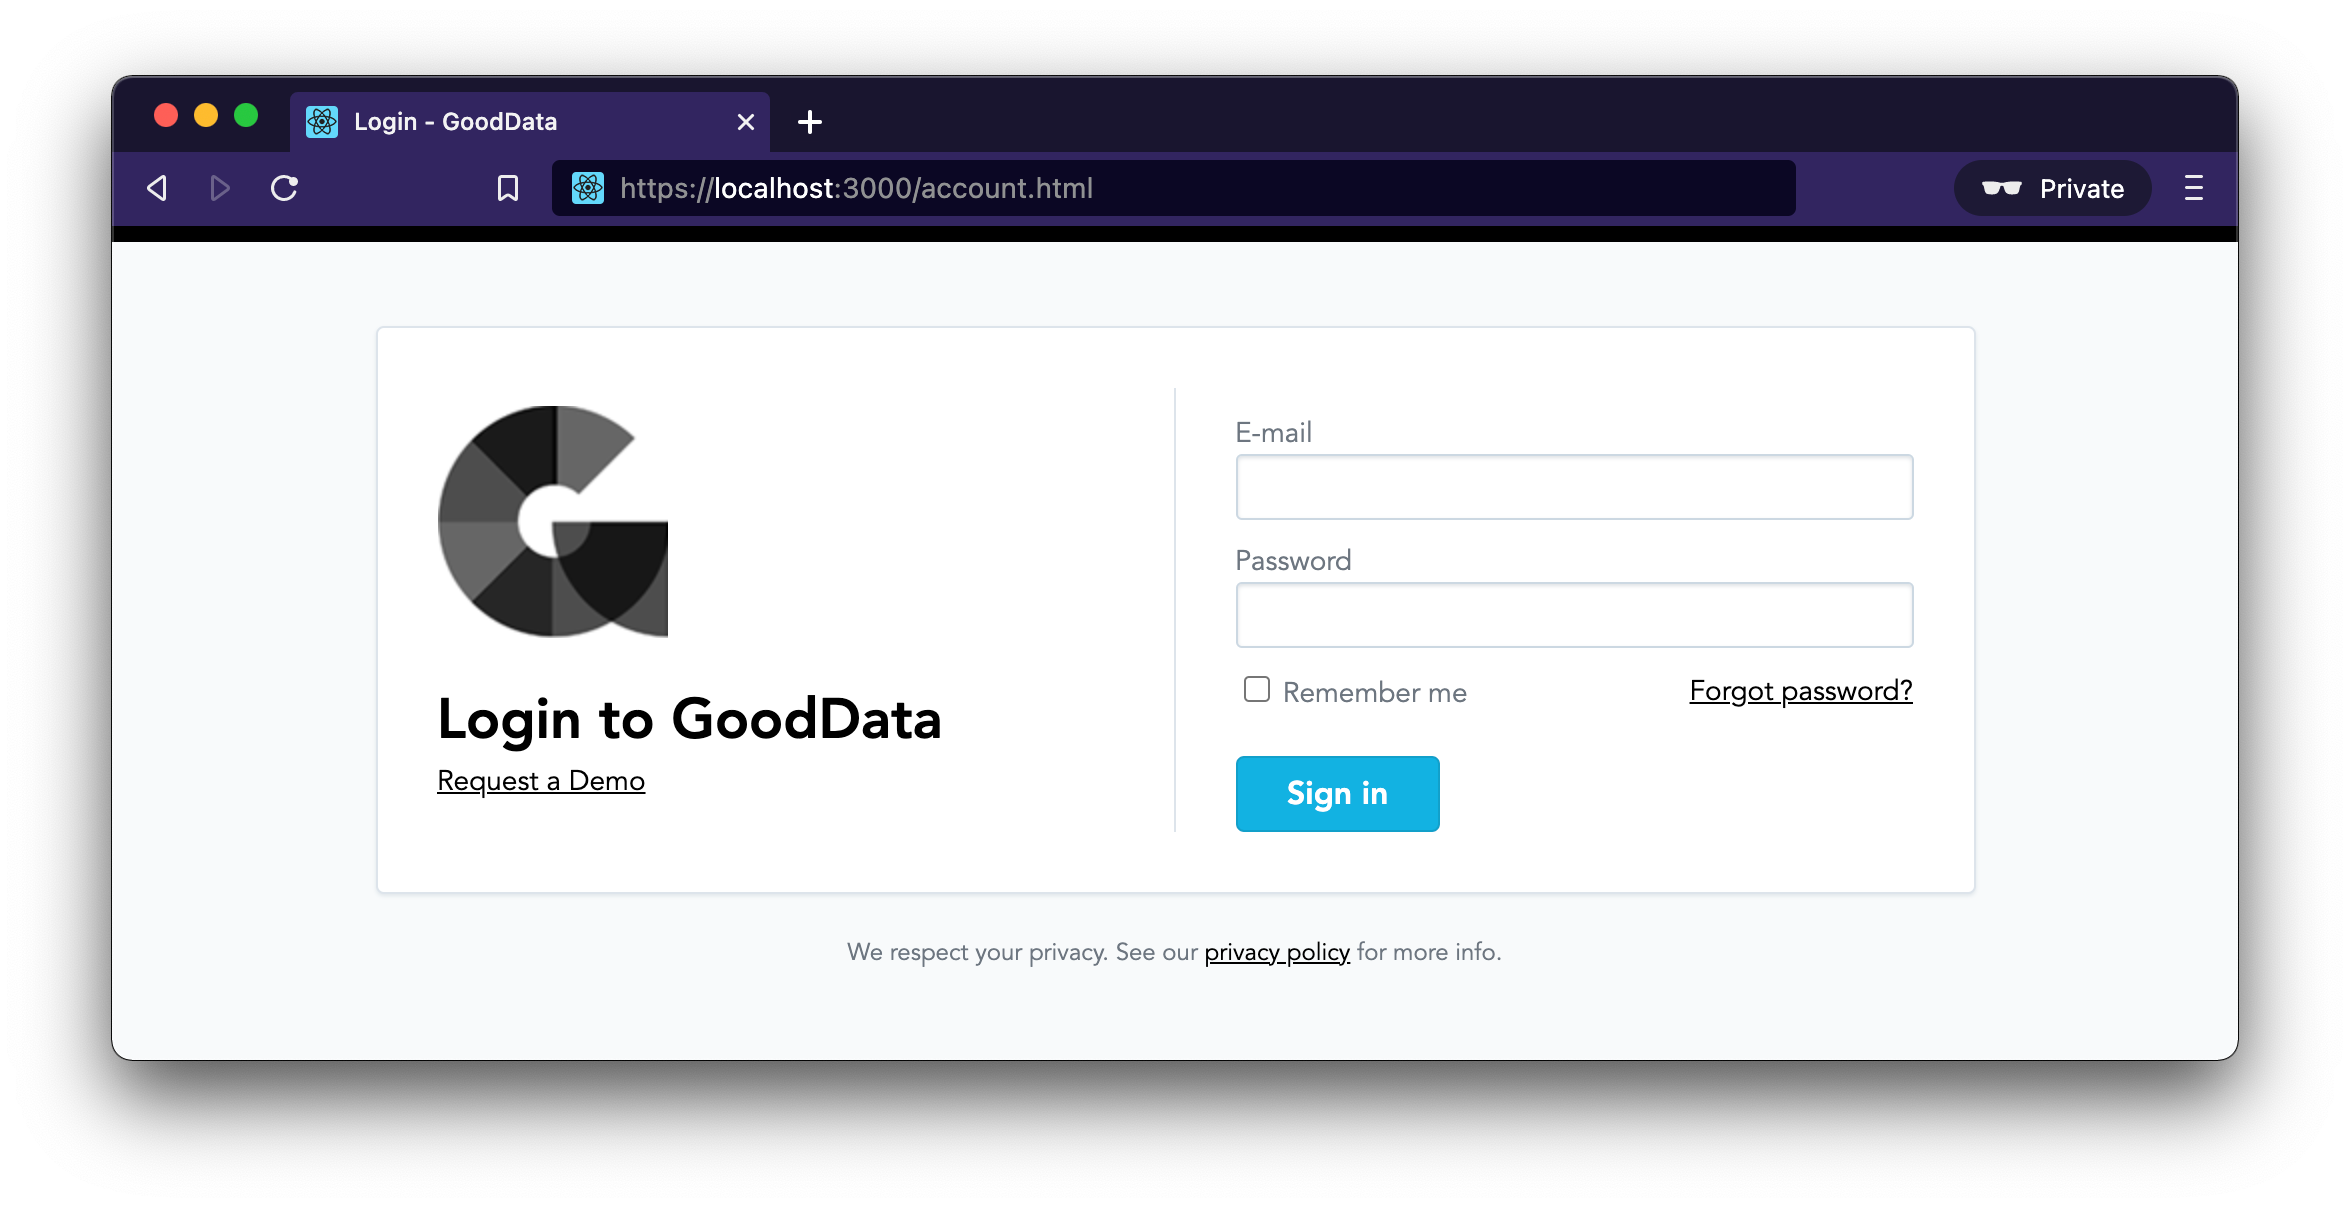
To verify that the proxy is working correctly, we should be able to access https://localhost:3000/account.html and log in to the platform. If you don’t have credentials yet, please register at https://gooddata-examples.herokuapp.com/.
Let's now move on to replacing the hard-coded src/data/appData.js with live data from the GoodData platform!
Execute Component
We’ll first add BackendProvider and WorkspaceProvider to src/index.js like so:
import { BackendProvider, WorkspaceProvider } from "@gooddata/sdk-ui";
import bearFactory, {ContextDeferredAuthProvider} from "@gooddata/sdk-backend-bear";

const backend = bearFactory().withAuthentication(new ContextDeferredAuthProvider());

ReactDOM.render(
  <BackendProvider backend={backend}>
    <WorkspaceProvider workspace="xms7ga4tf3g3nzucd8380o2bev8oeknp">
      <App />
    </WorkspaceProvider>
  </BackendProvider>,
  document.getElementById('root')
);
This made sure that all the GoodData.UI components underneath the <App /> will be provided with an instance of GoodData SDK and a correct workspace to execute against. Now we can head directly to src/components/DonutChartContainer.js and get the donutChartData like this:
import React from 'react';
import 'hammerjs';

import {
  Chart,
  ChartLegend,
  ChartSeries,
  ChartSeriesItem,
  ChartSeriesLabels
} from '@progress/kendo-react-charts';

import { Execute } from "@gooddata/sdk-ui";
import { newAttribute, newMeasure } from "@gooddata/sdk-model";

import { donutChartData } from '../data/appData';

/* This function's outputted string determines the label contents */
const labelTemplate = (e) => (e.category + '\n'  + (e.percentage*100) +'%');

export const DonutChartContainer = () => (
  <Execute
    seriesBy={[newMeasure('aeOt50ngicOD')]}
    slicesBy={[newAttribute('label.restaurantlocation.locationcity')]}
  >
    {
      ({ error, isLoading, result }) => {
        if (isLoading) {
          return <span>Loading…</span>;
        }

        if (error) {
          return <span>Something went wrong :-(</span>;
        }

        if (result) {
          const newDonutChartData = result.data().slices().toArray().map(slice => ({
            foodType: slice.sliceTitles()[0],
            percentSold: parseFloat(slice.rawData()[0])
          }));

          return (
            <Chart style={{ height: 300 }}>
              <ChartSeries>
                <ChartSeriesItem type="donut" data={newDonutChartData} categoryField="foodType" field="percentSold" padding={0}>
                  <ChartSeriesLabels color="#fff" background="none" content={labelTemplate} />
                </ChartSeriesItem>
              </ChartSeries>
              <ChartLegend visible={false} />
            </Chart>
          );
        }

        return <span>Init…</span>;
      }
    }
  </Execute>
);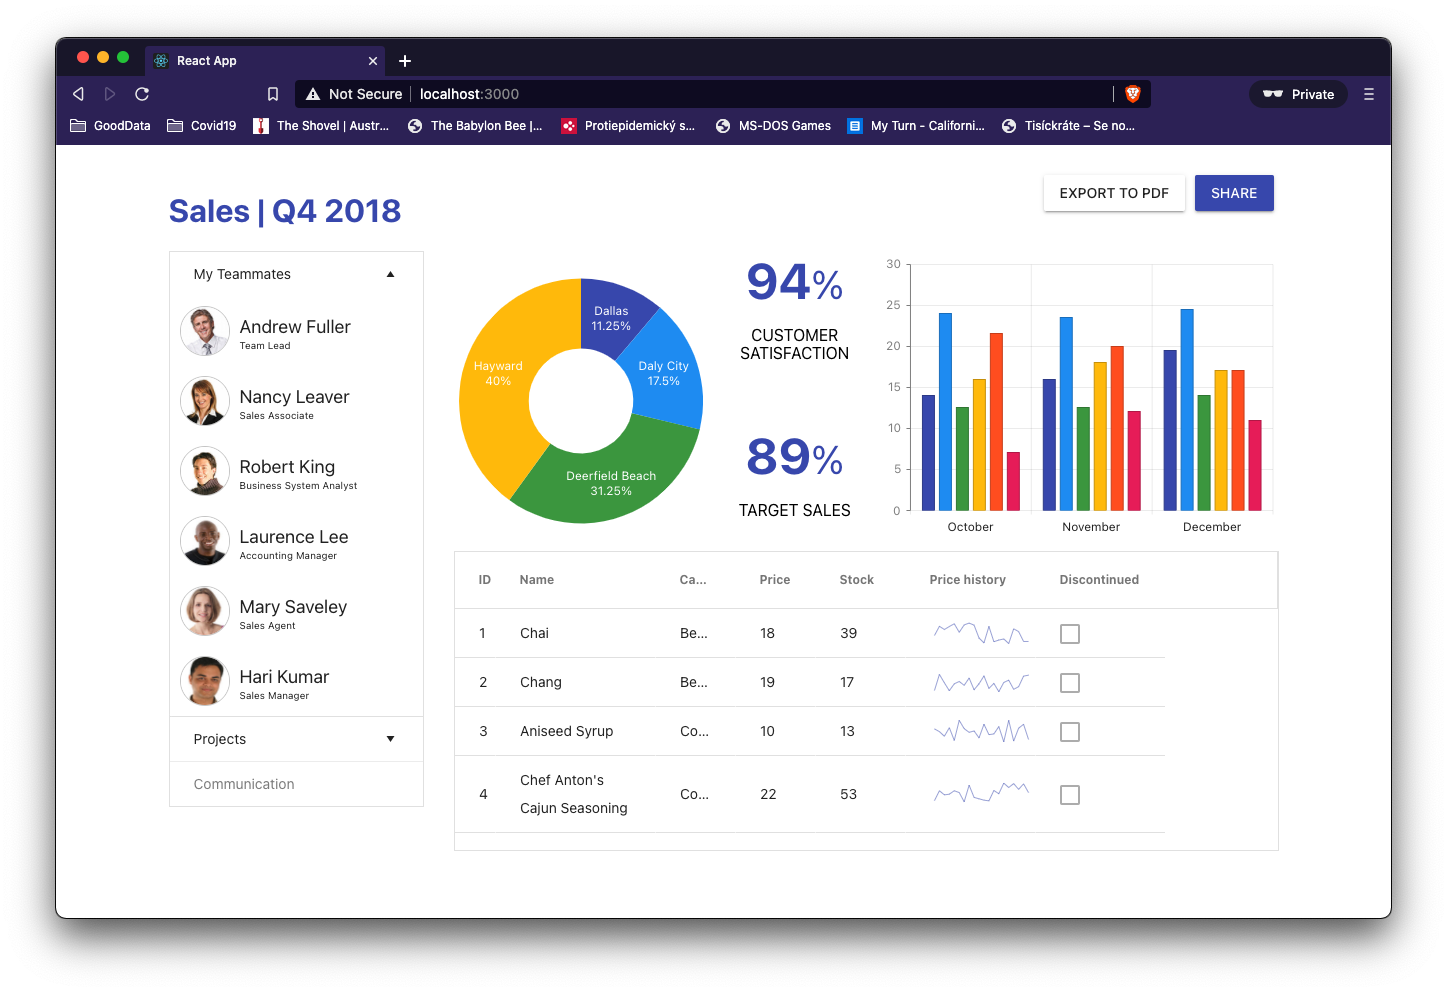
That’s it! We are now feeding the donut chart the data from the GoodData platform!
Summary
We just demonstrated how to replace dummy hard-coded data in KendoReact’s Sales Dashboard with real dynamic data from the GoodData platform using GoodData.UI.